

Fancy giving your old t-shirts a new lease of life or making some truly unique gifts? Well, you’re in the right place. Using printable iron on paper is a surprisingly simple way to get creative. It’s easier than you might think, and you don’t need to be an artist to get started. This guide will walk you through everything you need to know to start transferring your own designs onto fabric.
Key Takeaways
- Printable iron on paper lets you transfer digital designs onto fabric using a standard iron.
- You can create custom t-shirts, tote bags, cushion covers, and more.
- Designing your image in software and mirroring it before printing is important.
- Proper heat and pressure are key for a lasting transfer.
- Caring for your transferred designs will help them last longer.
Understanding Printable Iron-On Paper
Printable iron-on paper, also known as fabric transfer paper, is a special kind of paper that lets you print your own designs onto fabric using a standard inkjet printer. It’s a really accessible way to get creative, whether you’re making a one-off t-shirt or customising a whole batch of tote bags. Think of it as a bridge between your digital designs and the physical world of textiles.
What Is Printable Iron-On Paper?
At its core, printable iron-on paper is designed to be printed on with inkjet inks, and then the printed image is transferred onto fabric using heat, typically from an iron or a heat press. The paper itself has a coating that holds the ink, and this coating is what transfers to the fabric. There are generally two main types:
- Light fabrics: These papers are usually white or transparent and are best for white or very light-coloured fabrics. The ink transfers directly, and the paper backing is peeled away.
- Dark fabrics: These papers have a white or coloured backing layer that the ink prints onto. This layer is then transferred with the ink, allowing your design to show up vibrantly on darker materials.
It’s a straightforward process, but getting the best results often comes down to choosing the right paper for your fabric and following the instructions carefully. For example, some companies use durable QR code stickers on equipment, linking directly to maintenance logs or compliance documents, which is a similar principle of transferring information onto a surface for easy access. These stickers often use high-tack adhesives to ensure they stay put, proving the versatility of printed information.
The Versatility of Fabric Transfers
The real beauty of iron-on paper is how versatile it is. You can print almost anything – photos, graphics, text, patterns – and apply it to a wide range of fabrics like cotton, polyester blends, and even some natural fibres. This opens up a world of possibilities for personalising clothing, accessories, and home decor.
Imagine creating custom t-shirts for a family event, designing unique tote bags for a local market, or even adding personalised touches to cushion covers. It’s a fantastic way to make something truly your own. Even in industrial settings, the concept of transferring information is key. For instance, durable QR code stickers are used by UK organisations to track assets, prove compliance, or link equipment to digital instructions. These labels, often made from robust vinyl with optional high-tack adhesives, demonstrate how printed information can be made to last on various surfaces, much like a well-applied fabric transfer.
Getting Started with Your Creative Projects
Before you jump in, it’s good to have a basic idea of what you want to create. Think about:
- The fabric: What type of material will you be applying your design to? Cotton t-shirts are a great starting point.
- The design: Do you have a specific image or text in mind? Keep it relatively simple for your first few projects.
- The tools: You’ll need an inkjet printer, scissors or a cutting machine, an iron or heat press, and of course, the printable iron-on paper itself.
Having a plan helps make the process smoother. Just like how businesses use QR code stickers to link physical items to digital information, you’re using iron-on paper to link your digital design to a physical fabric item. It’s all about making connections and adding a personal touch. You can find guides on how to effectively print on iron-on transfer paper to achieve professional results, covering everything from paper selection to application techniques [efc1].
Printable iron-on paper offers a straightforward and enjoyable method for transferring digital designs onto fabric, making customisation accessible for everyone. Its adaptability means you can bring a wide array of creative ideas to life on textiles, from personal apparel to unique home furnishings.
Preparing Your Designs for Printing
Once you’ve got your creative ideas buzzing, the next step is getting them ready to be printed onto your iron-on paper. This stage is all about making sure your design translates well from screen to fabric. It might sound a bit technical, but it’s quite straightforward once you know the basics. Think of it like prepping a canvas before you start painting – a little preparation goes a long way.
Choosing the Right Software
For creating your designs, you’ve got a few options. Simple graphics programs like Canva or even basic word processors can work for straightforward text or shapes. If you’re looking for something a bit more advanced, free software like GIMP or Inkscape offers more control. For professional results, Adobe Photoshop or Illustrator are industry standards, but they come with a subscription. The key is to use software that allows you to create or import images at a good resolution and offers the tools you need to manipulate them. Many businesses use design software to create custom QR Code Stickers for branding, linking customers to their website or social media. This ensures a consistent brand message across all their physical assets.
Designing for Fabric Application
When designing for iron-on transfers, keep a few things in mind. Firstly, think about the colours you’re using. While printable iron-on paper can handle a good range of colours, very fine details or subtle gradients might not transfer perfectly. Bold, clear designs tend to work best. Also, consider the fabric you’ll be applying the design to. If you’re using dark fabric, you might need to use lighter colours in your design or choose a transfer paper specifically for dark materials. For example, a local theatre company might use iron-on transfers to create custom t-shirts for their cast and crew, featuring the play’s logo. They’d ensure the logo colours contrast well with the shirt fabric.
Mirroring Your Image Correctly
This is probably the most important technical step. When you print onto iron-on transfer paper, you’re printing onto the back of the design. This means that when you iron it onto your fabric, the image will appear reversed. To counteract this, you need to mirror your image before printing. Most design software has a ‘flip horizontal’ or ‘mirror’ option. Always double-check that you’ve mirrored your design before hitting print. It’s a common mistake, and one that’s easily fixed if caught early. Think about how you’d write a message on a window for people outside to read – you’d write it backwards on the inside. It’s the same principle. Many organisations use QR Code Stickers on equipment, and they need to be printed mirrored if they are to be applied to the inside of a transparent surface to be read from the outside. This ensures the QR code is the correct way round when viewed externally.
A quick tip: Before printing your final design, it’s a good idea to do a test print on plain paper. This lets you check the size, colours, and most importantly, confirm you’ve mirrored the image correctly. You can even use this test print to check how your design will look on the fabric colour you plan to use.
Here’s a quick checklist:
- Software Choice: Use a program you’re comfortable with, capable of high-resolution output.
- Design Simplicity: Opt for clear, bold designs, especially for beginners.
- Colour Contrast: Ensure your colours will show up well on your chosen fabric.
- Mirroring: Crucially, flip your design horizontally before printing.
- Test Print: Always print a draft on regular paper to check everything.
Printing Your Custom Designs
Right then, you’ve got your design ready and you’re itching to get it onto fabric. This is where the magic really starts to happen. Choosing the right paper and getting your printer settings spot on are key to making sure your design transfers beautifully and lasts.
Selecting Your Printable Iron-On Paper
Not all iron-on paper is created equal. You’ll find different types for light and dark fabrics, and some are better suited for specific printer types (inkjet vs. laser). Always check the packaging to make sure it’s compatible with your printer and the fabric you’re using. For example, if you’re printing onto a black t-shirt, you’ll need paper designed for dark colours, which usually has a white backing. For lighter fabrics, a clear or transparent paper works well. It’s worth looking into printable iron-on paper options to see what suits your project best.
Printer Settings for Optimal Results
This is a bit of a fiddly bit, but important. Most iron-on paper manufacturers will recommend specific printer settings. Often, you’ll need to select a ‘T-shirt transfer’ or ‘photo paper’ setting on your printer. You might also need to adjust the print quality to ‘high’ or ‘best’. Some papers also require you to select the correct paper type from a dropdown menu. Getting this wrong can lead to faded colours or ink that doesn’t dry properly. Think about how organisations use QR code stickers for asset tracking; they need reliable, clear prints every time, and your iron-on paper needs the same attention to detail. For instance, a company might use durable, high-tack labels with QR codes linking equipment to digital maintenance logs, proving compliance and ensuring smooth operations.
Allowing Ink to Dry Thoroughly
This step is non-negotiable. Once your design is printed, you absolutely must let the ink dry completely. This usually takes at least a few hours, but some papers recommend leaving it overnight. If you try to iron the design on while the ink is still wet, it can smudge, bleed, or transfer unevenly, ruining your hard work. Patience here really pays off. It’s a bit like waiting for paint to dry, but the end result is so much more satisfying when you don’t rush it. You wouldn’t want a smudged QR code on a product label, and the same applies to your fabric transfers.
Always check the specific drying time recommended by the paper manufacturer, as this can vary significantly between brands and types.
Here’s a quick checklist for printing:
- Read the paper instructions: Different brands have different needs.
- Select the right paper type: Light vs. dark fabric paper.
- Adjust printer settings: Use ‘photo paper’ or ‘transfer paper’ mode.
- Print in high quality: For vibrant colours and sharp details.
- Allow ample drying time: Patience is key for a clean transfer.
The Iron-On Application Process
Right then, you’ve got your design printed and it’s all dried. Now for the exciting bit: getting it onto your fabric. It’s not complicated, but a bit of care goes a long way to making sure it looks good and stays put. Think of it like ironing a shirt, but with a bit more purpose.
Preparing Your Fabric Surface
Before you even think about touching that iron, give your fabric a good once-over. It needs to be clean and dry. Any creases or wrinkles will mess with the transfer, so give it a good press with your iron first. If you’re working with something like a t-shirt, lay it flat on a hard, heat-resistant surface. A sturdy ironing board is okay, but a solid table with a thin towel or a heat mat underneath is even better. This gives you a firm base to work on. For smaller items, like tote bags or patches, make sure you’ve got a flat area to press. You don’t want any lumps or bumps interfering with the heat. It’s also a good idea to have your QR code stickers ready to go if you’re adding them to your project later for asset tracking or linking to digital instructions. Having them nearby means you can apply them right after the transfer cools.
Setting the Correct Iron Temperature
This is pretty important. Too cool and the transfer won’t stick properly; too hot and you risk scorching the paper or the fabric. Most printable iron-on papers will have specific temperature recommendations, so check the packaging. As a general rule, a medium-high heat setting is usually about right. For most common types of printable iron-on, a heat setting of 315 degrees Fahrenheit (around 157 degrees Celsius) for 30 seconds is a good starting point, especially if you’re using a tool like a heat press or an EasyPress [aa45]. If you’re using a standard iron, you’ll want to turn off the steam function. Steam will definitely interfere with the transfer. Give your iron a few minutes to heat up fully before you start. You can even do a quick test on a scrap piece of fabric if you’re unsure.
Applying Firm and Even Pressure
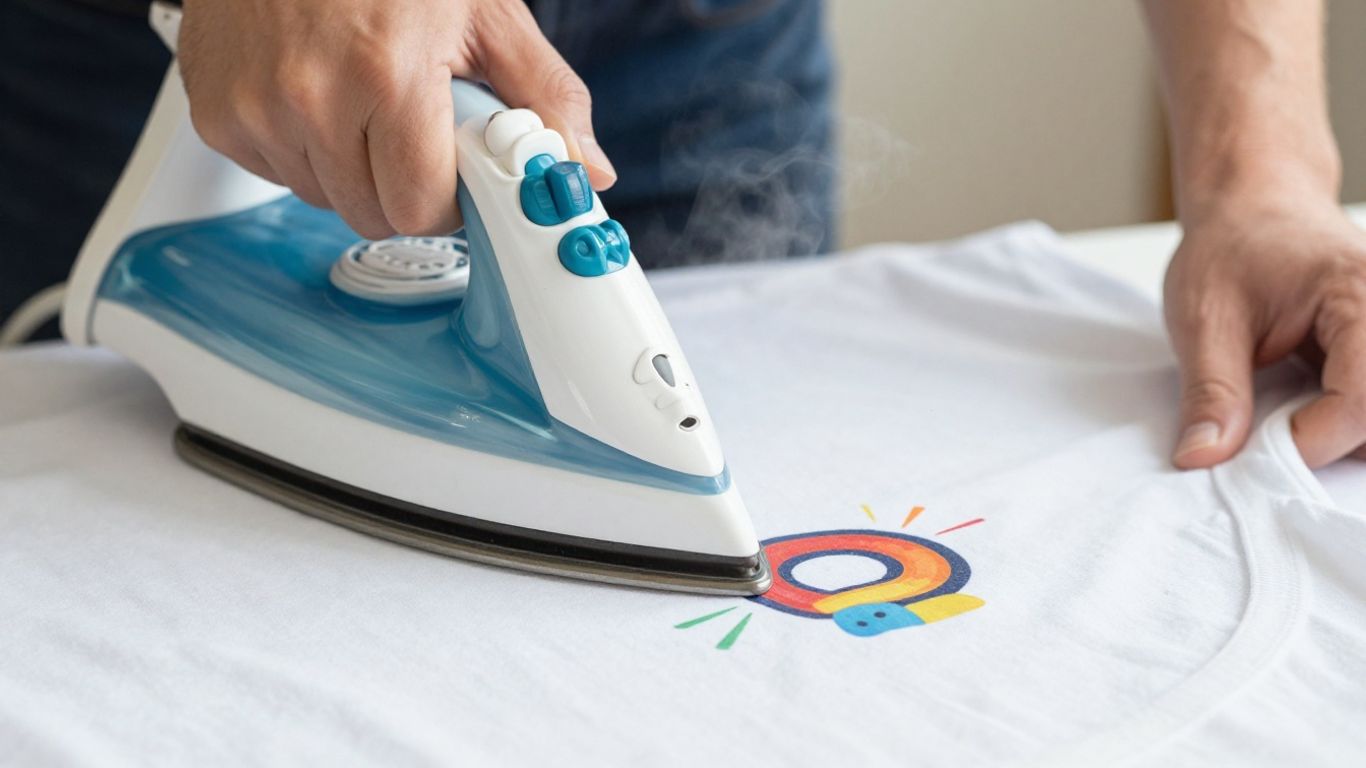
Once your iron is hot and your fabric is prepped, it’s time to apply the design. Place your printed transfer paper, design-side down, onto the fabric where you want it. Now, press down with your iron. The key here is firm, even pressure. Don’t just glide the iron around like you’re doing a normal ironing job. You need to press down firmly and hold it in place for the recommended time (usually around 15-30 seconds, but check your paper’s instructions). Move the iron slowly and deliberately over the entire design, making sure you cover all the edges. If you’re using a standard iron, you might need to go over it a couple of times, pressing down hard each time. Think of it as giving the design a good, solid hug with the heat. For businesses needing to track assets or prove compliance, durable, high-tack QR code stickers can be applied to equipment after the transfer, linking directly to digital maintenance logs or safety data sheets, ensuring all information is readily accessible.
Remember, patience is a virtue here. Rushing the process or not applying enough pressure is one of the main reasons transfers don’t stick properly. Take your time, be thorough, and you’ll get a much better result.
Achieving Durable and Lasting Results
So, you’ve gone through the process of designing and printing your custom iron-on transfers. That’s brilliant! Now, let’s talk about making sure your creations stand the test of time. It’s not just about getting the design onto the fabric; it’s about ensuring it stays put, looking as good as it did the day you made it. Think of it like applying a good quality QR code sticker to an asset; you want it to be readable and secure for the long haul, not peeling off after a few weeks.
Peeling the Backing Paper
This is a critical step, and patience is key. After you’ve applied heat and pressure, let the transfer cool down. The instructions for your specific paper will tell you whether to peel it while hot or cold, so always double-check that. Gently lift a corner of the backing paper. If it seems to be sticking or tearing the design, stop. You might need a little more heat or pressure, or perhaps it needs to cool down further. Peel slowly and steadily, at an angle. If you notice any parts of the design lifting with the paper, you can try placing the backing paper back down and applying a bit more heat for a few seconds, then try peeling again.
Caring for Your Transferred Designs
Once your design is successfully transferred, how you care for the item will make a big difference.
- Washing: Always wash your custom items inside out. Use a cold or lukewarm wash on a gentle cycle with a mild detergent. Avoid harsh chemicals or bleach. For enhanced durability, consider post-pressing the garments after washing [a888].
- Drying: Tumble drying on a low heat setting is usually fine, but air drying is always the gentlest option. Avoid direct high heat, which can damage the transfer.
- Ironing: Never iron directly on the transferred design. Always turn the item inside out or place a piece of parchment paper over the design before ironing [cd63].
Troubleshooting Common Issues
Sometimes, things don’t go perfectly the first time. Don’t worry, it happens to everyone!
- Design Lifting: If parts of your design lift after washing or wear, it usually means the initial application didn’t have enough heat or pressure, or the fabric wasn’t suitable. You might be able to reapply heat to the affected area, but it’s often best to try again on a new piece of fabric.
- Faded or Cracked Design: This is often due to washing on too hot a setting, using harsh detergents, or ironing directly on the print. Following the care instructions above should prevent this.
- Ink Bleeding: This can happen if the ink wasn’t fully dry before application or if the fabric is too porous. Ensure your ink is completely dry and consider using a fabric specifically recommended for iron-on transfers.
Just like with durable QR code stickers used for asset tracking in industrial settings, the right preparation and care are key to longevity. Organisations like manufacturing plants use high-tack labels with QR codes to track equipment, ensuring they can link machinery to digital maintenance logs. These labels, often made from robust vinyl with UV laminate, are designed to withstand harsh conditions, proving that attention to detail in application and material choice leads to lasting results. If your transfers are for items that will see heavy use, like workwear, think about using a more robust transfer paper or a higher heat setting, always following the manufacturer’s guidance.
The goal is to create something that not only looks good initially but continues to impress over time. This involves understanding the materials you’re working with and treating your finished creations with the care they deserve.
Creative Applications for Your Projects
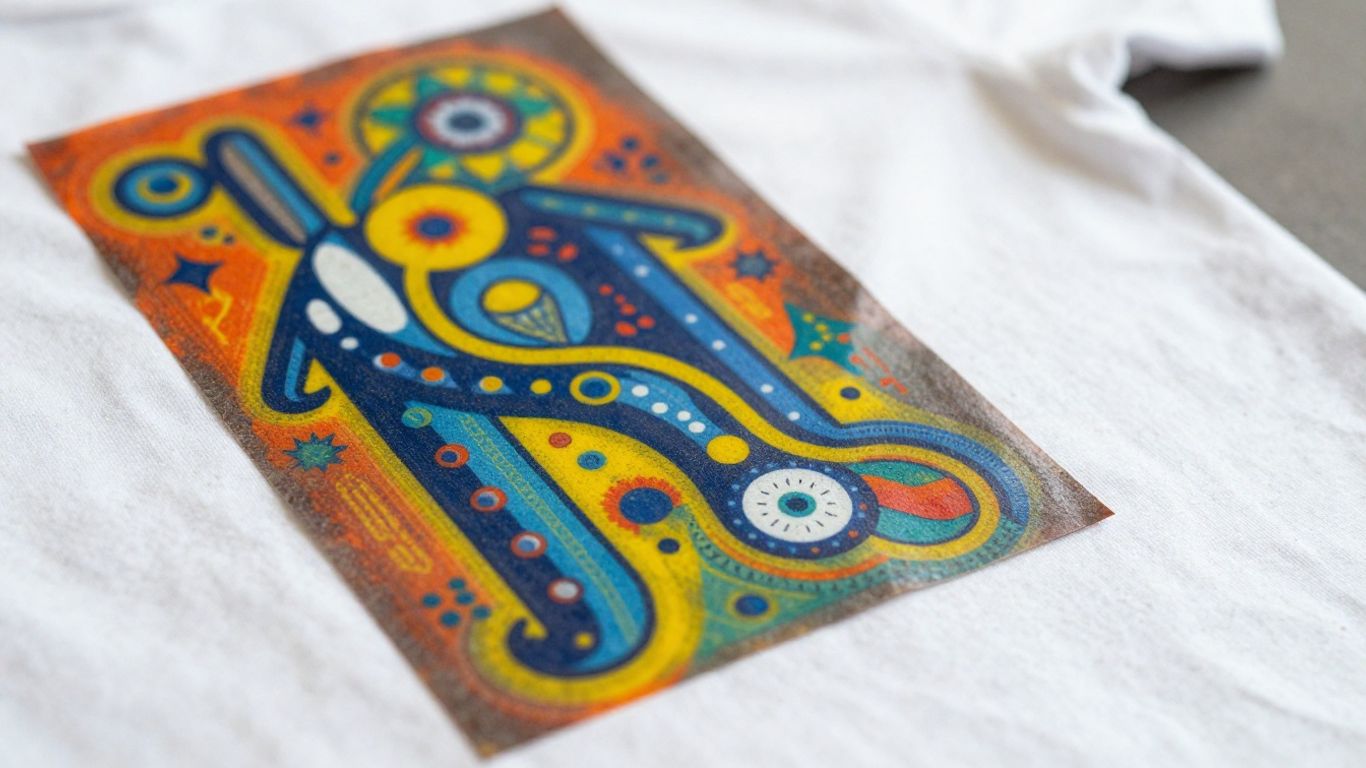
Once you’ve mastered the basics of printable iron-on paper, the possibilities for what you can create are pretty much endless. It’s a fantastic way to add a personal touch to everyday items or to make something truly unique for a special occasion. Think beyond just t-shirts; this technique opens up a whole world of customisation.
Personalising Apparel and Accessories
This is probably the most common use, and for good reason. You can transform plain t-shirts, tote bags, or even socks into something that reflects your personality or a specific event. Imagine creating matching t-shirts for a family holiday, or customising babygrows with cute designs and names. It’s also brilliant for making personalised sportswear or hen/stag do outfits. For a practical touch, consider adding QR code stickers to work uniforms or sports kits. For example, a local sports club might use durable, high-tack QR code stickers on team jackets that link to the club’s website or upcoming match schedules. This provides an easy way for fans and players to access information instantly.
Customising Home Decor Items
Don’t stop at clothing! Printable iron-on paper can also liven up your living space. Think about custom cushion covers with family photos or inside jokes, personalised tea towels for the kitchen, or even unique wall hangings. You could create a set of coasters with different designs for each family member, or a personalised apron for the budding chef in your life. For a more functional approach, consider using iron-on transfers to add labels to storage boxes or jars. You could even integrate QR code stickers onto items like toolboxes or storage units in a workshop, linking to digital inventory lists or maintenance guides. This is something many small businesses are doing to keep track of equipment, proving compliance and linking assets to digital instructions.
Unique Gifts and Craft Projects
Looking for a gift that’s a bit more thoughtful? Custom items made with iron-on paper are always a winner. Create a personalised teddy bear for a child, a custom tote bag for a friend’s birthday, or even a memorial item with a special photo. It’s also a great way to add a professional finish to handmade crafts you might be selling. For instance, crafters selling handmade bags or accessories could add a small, discreet QR code sticker that links to their online shop or social media page, making it easy for customers to find more of their work. This is a simple yet effective way to connect your physical products to your online presence. Many organisations are now using these types of stickers for asset tracking, ensuring equipment is linked to digital instructions and proving compliance, especially in sectors like manufacturing and facilities management where durability is key.
The beauty of printable iron-on paper lies in its accessibility. You don’t need fancy equipment, just a printer, an iron, and your imagination. This makes it a fantastic medium for both personal projects and small-scale entrepreneurial ventures. Plus, with the option to integrate dynamic QR code stickers, your creations can become interactive, linking to websites, videos, or even social media profiles, adding another layer of engagement.
Ready to Get Creative?
So there you have it. Printable iron-on paper is a really straightforward way to get your designs onto fabric. It’s not complicated, and with a bit of practice, you’ll be making custom t-shirts, tote bags, or whatever else you fancy in no time. Don’t be afraid to experiment with different designs and see what you can come up with. It’s a fun and rewarding process, and the results can be surprisingly professional. Give it a go – you might just surprise yourself with what you can create.
Frequently Asked Questions
What exactly is printable iron-on paper?
Printable iron-on paper, also known as fabric transfer paper, is a special kind of paper that lets you print your own designs from a computer or tablet. Once printed, you can use a hot iron to transfer that design onto fabric items like t-shirts, tote bags, or cushion covers. It’s a fantastic way to personalise things!
Can I use any type of fabric with iron-on paper?
It works best on cotton or cotton-blend fabrics. Smoother surfaces tend to give the best results. You might find it a bit trickier on very textured or stretchy materials, but it’s worth experimenting!
Do I need a special printer?
Nope, you can usually use a standard inkjet printer you might already have at home. Just make sure it’s compatible with the specific iron-on paper you buy, as some might recommend certain types for the best outcome.
Why do I need to mirror my image before printing?
This is super important! When you print onto the iron-on paper, the design is reversed. If you don’t mirror it first, your design will appear backwards on your fabric after you iron it on. So, always flip your image horizontally before hitting print!
How long will my transferred design last?
With the right application and care, your designs can last for a good while. Avoid washing the item too soon after transferring the design, and when you do wash it, turn the item inside out and use a gentle cycle. This helps to keep the design looking its best for longer.
What if my design doesn't transfer perfectly?
Don’t worry, it happens! Common issues include not enough heat, uneven pressure, or not letting the ink dry fully. Double-check that your iron is hot enough (usually no steam!), press firmly and evenly for the recommended time, and make sure the ink is completely dry before ironing. Sometimes a second attempt works wonders!